
It all began by finding an orange cab and measuring the outside dimensions for reference. Then the fun started.
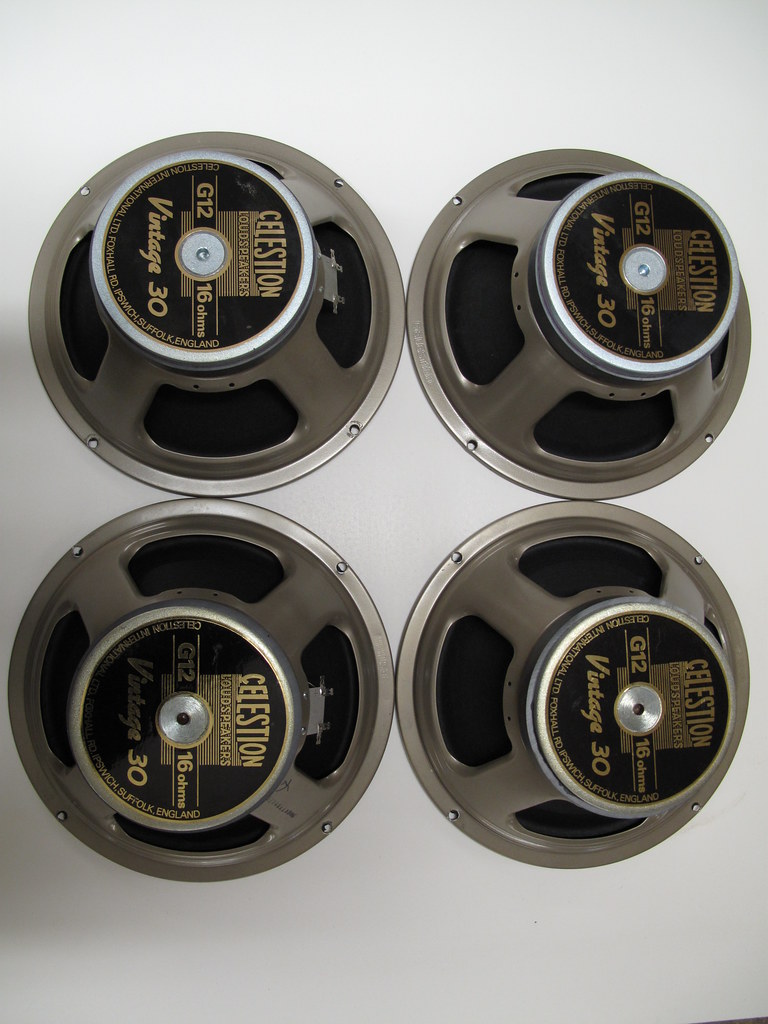
So I cobbled together 4 of these fuckers on craigslist for pretty good prices.
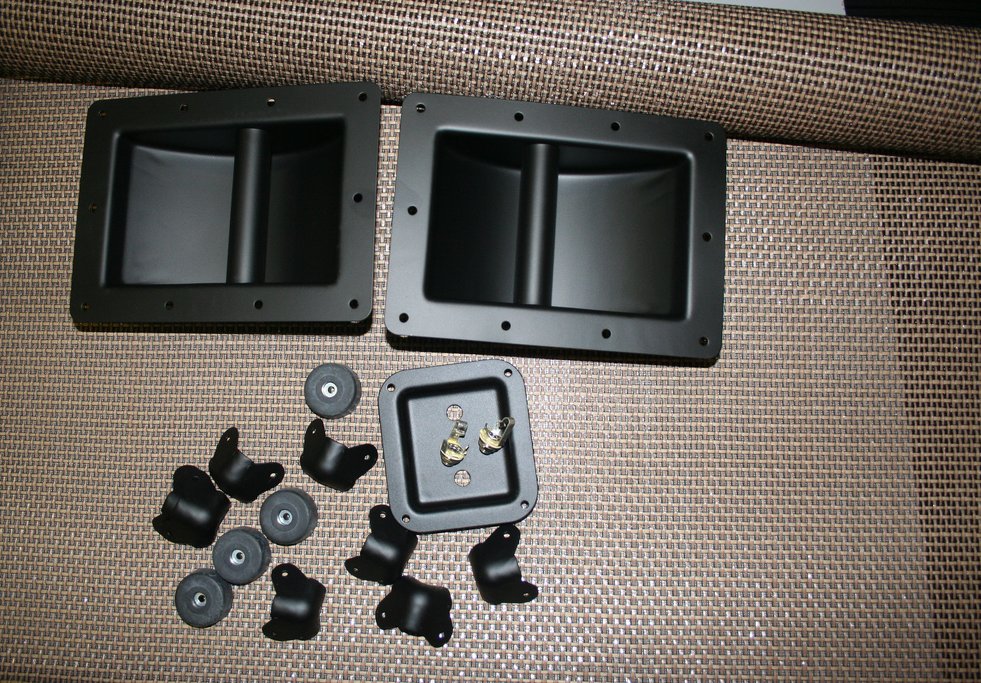
Ordered a bunch of odds and ends online for finishing.
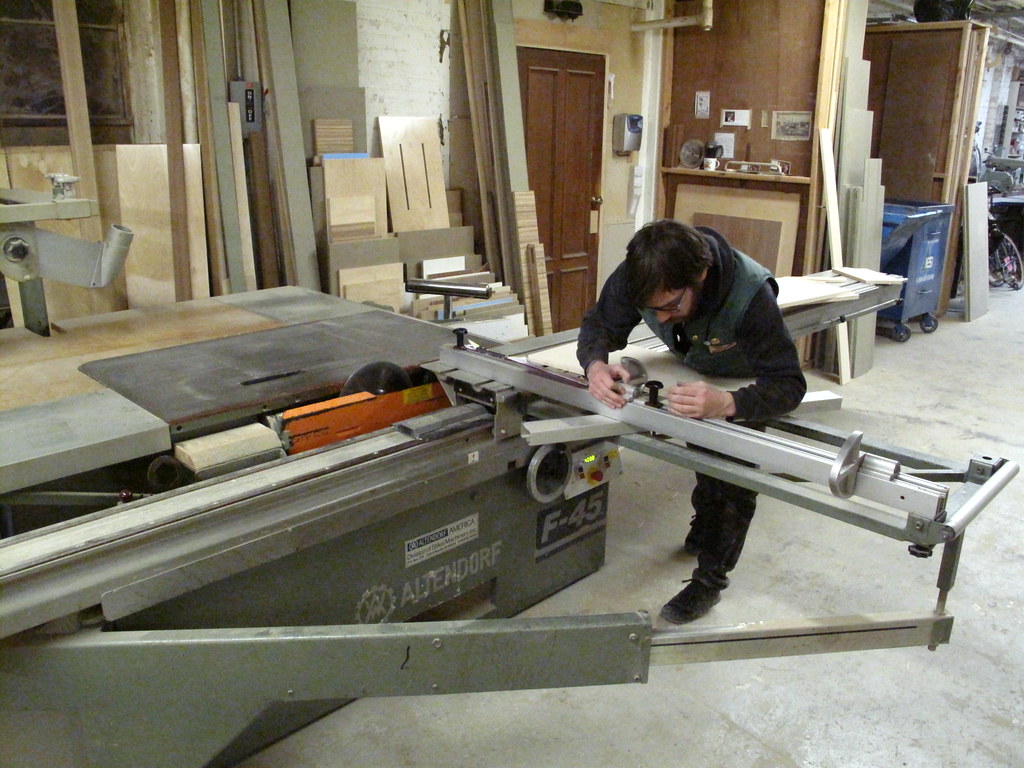
And then went about putting it together with Thom. We chose 13ply Baltic Marine Birch for the wood. This shit ain't cheap, and it definitely ain't fucking light, but man does it sound good.
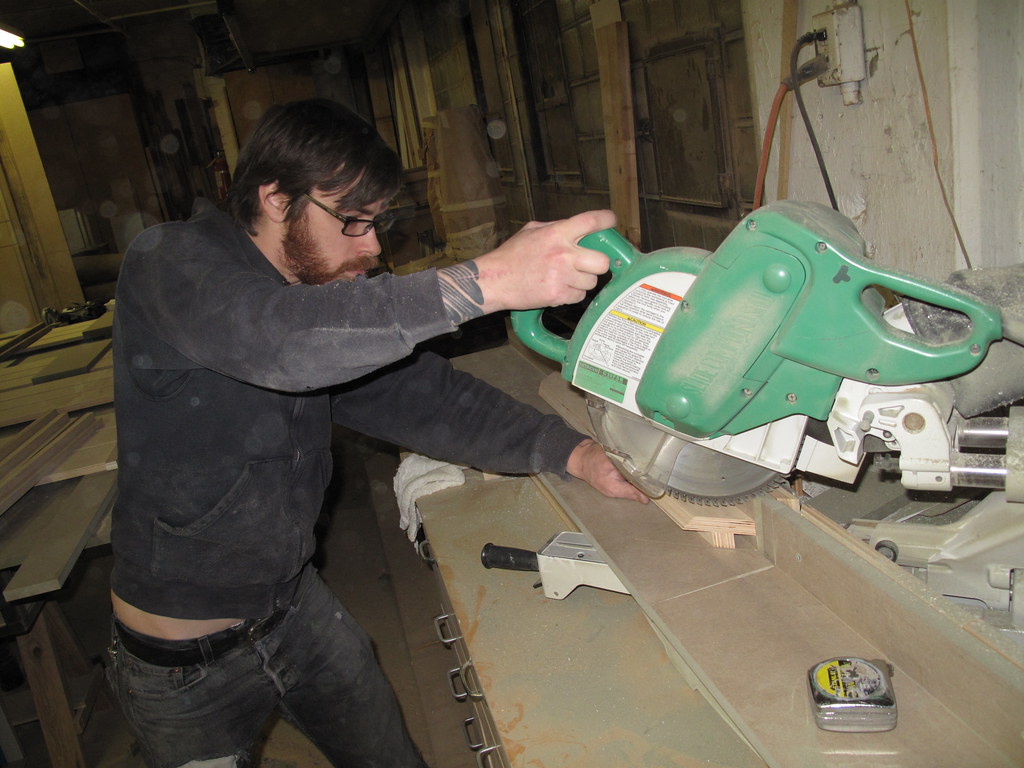
Here's Thom playing with fun toys that I wasn't allowed to touch...
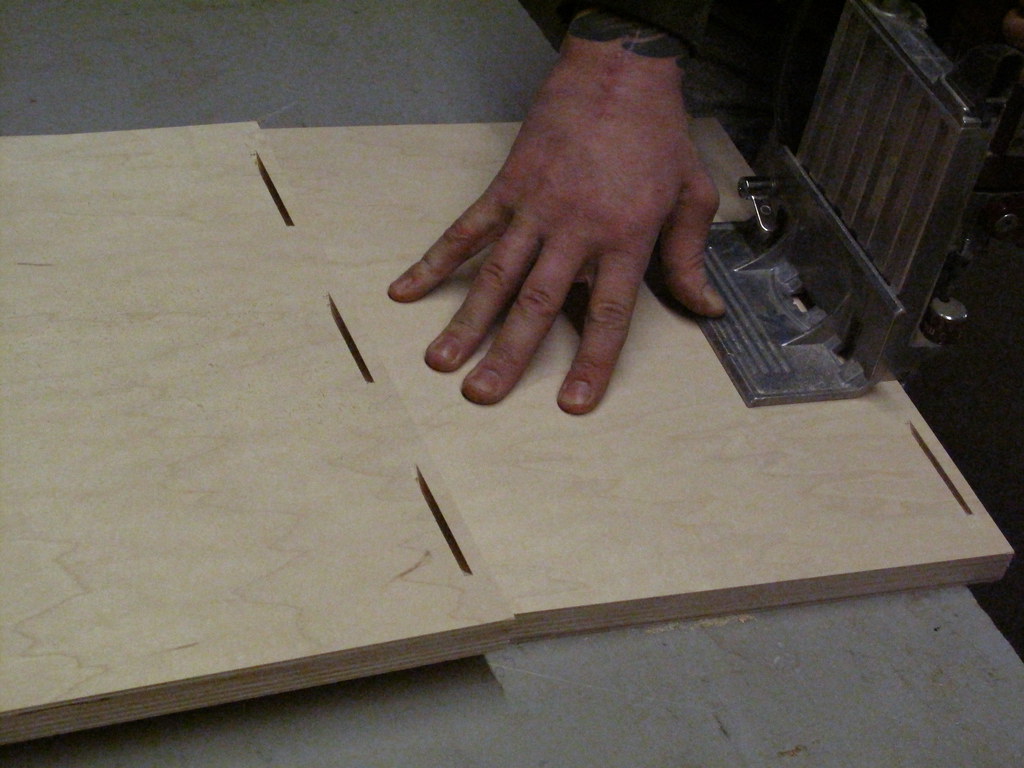
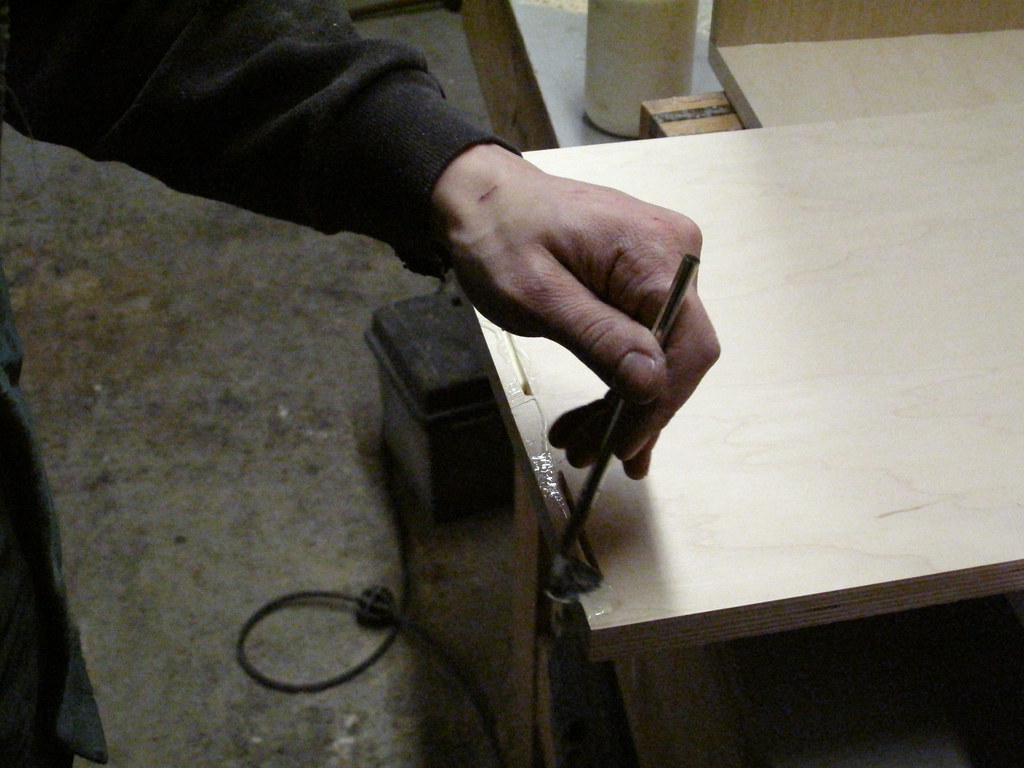
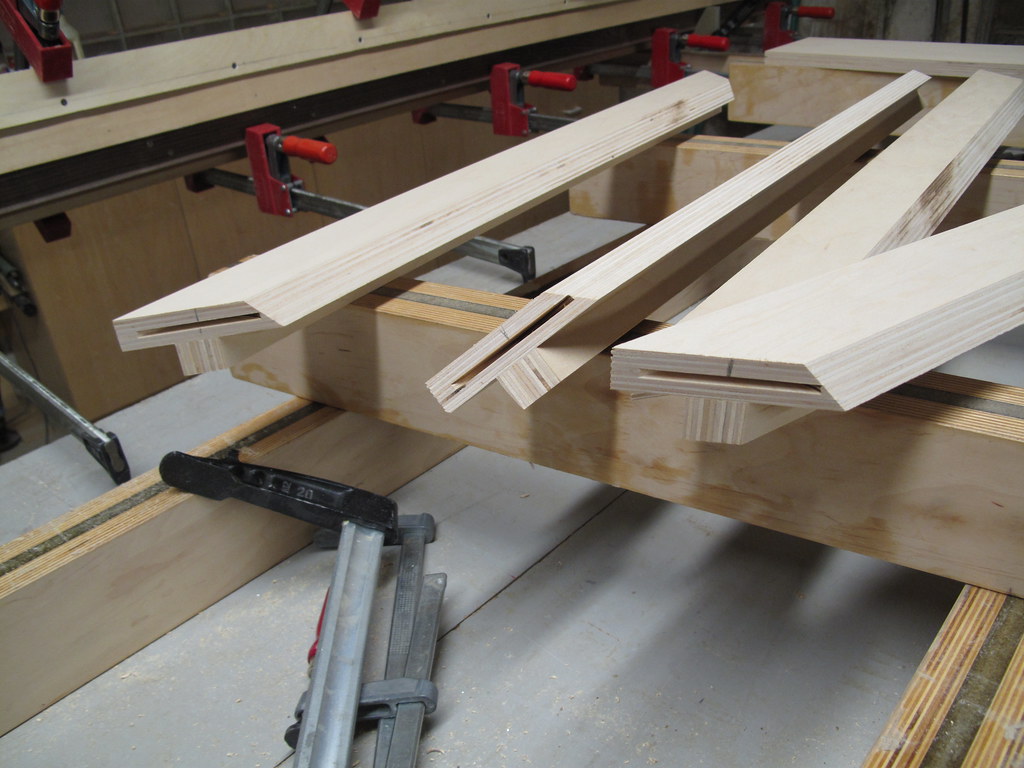
After we chopped it all up into component pieces, we decided on biscuit joints + screw and glue to seal it all together. Here's Thom making the biscuit slit-scuits...

Now sticking it all together
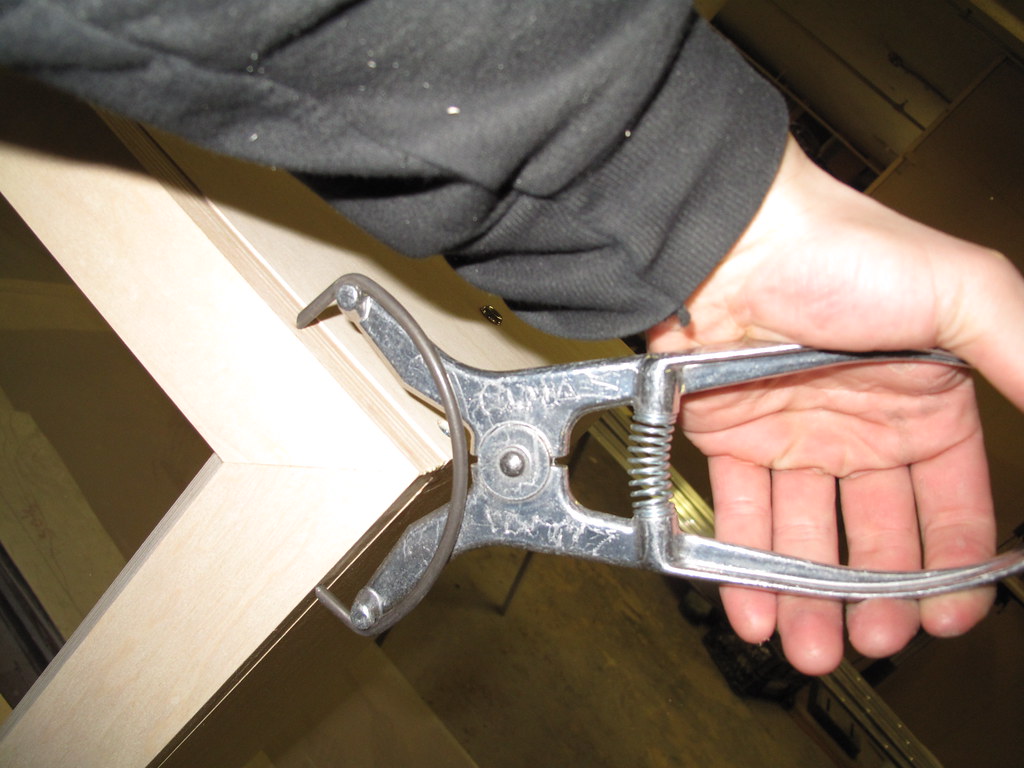
And a few clamps to ensure a tight seal
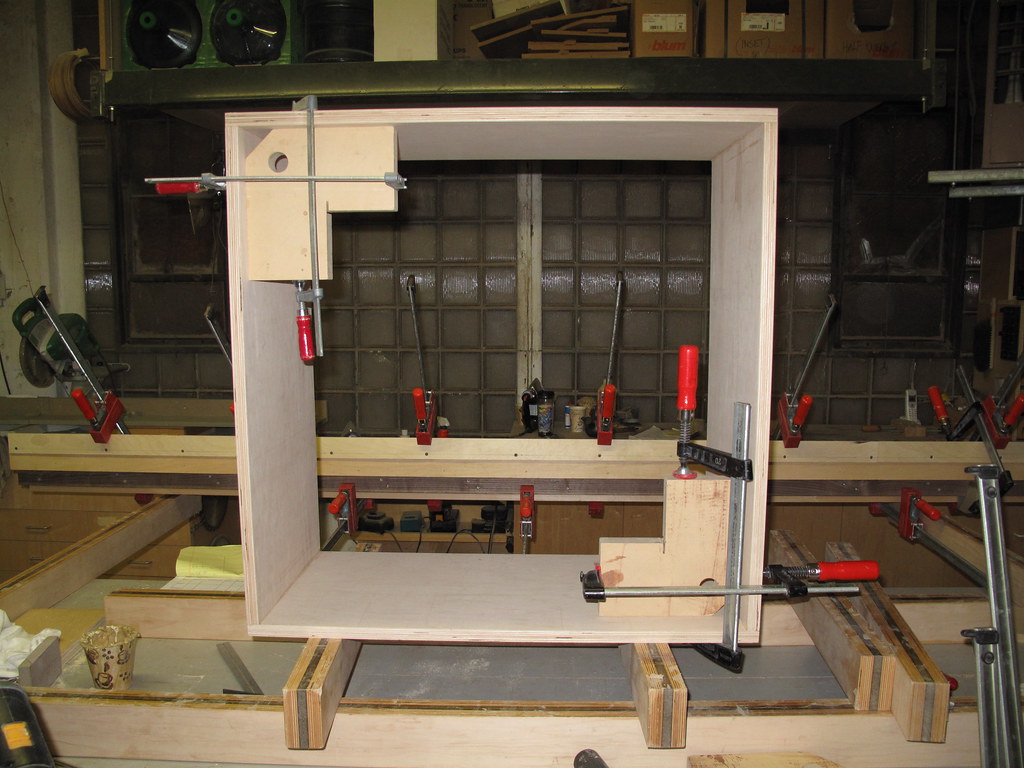
Screwing it together for extra strength

While waiting for the glue to dry we put together the baffle (thing the speakers sit on out of MDF (way more dense for better sound projection)

And then worked on the frame for the front. Again we used biscuit joints, this is a nonstructural part though so it didn't need screws.

On to routing out speaker holes in the baffle. Thom's little handy dandy perfect circle maker template made this fast as hell.

Then some paint so it doesn't show through the grill cloth
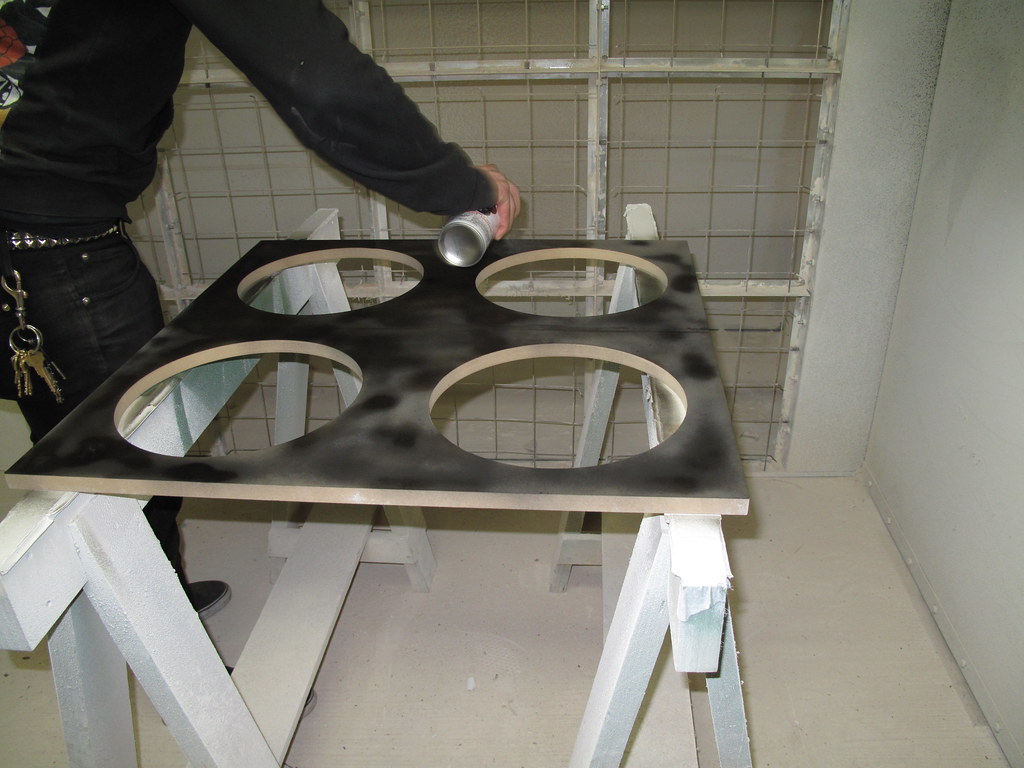
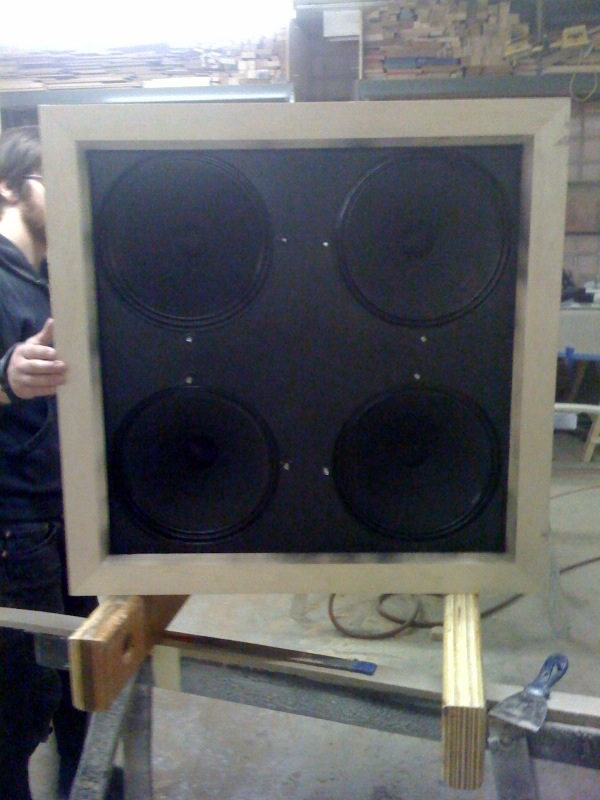
Checking to make sure the speakers fit properly

They all fit perfectly so we then attached a brace for the baffle. Otherwise the vibration would snap that shit and we'd lose a ton of efficiency/volume. This will press into the back panel.

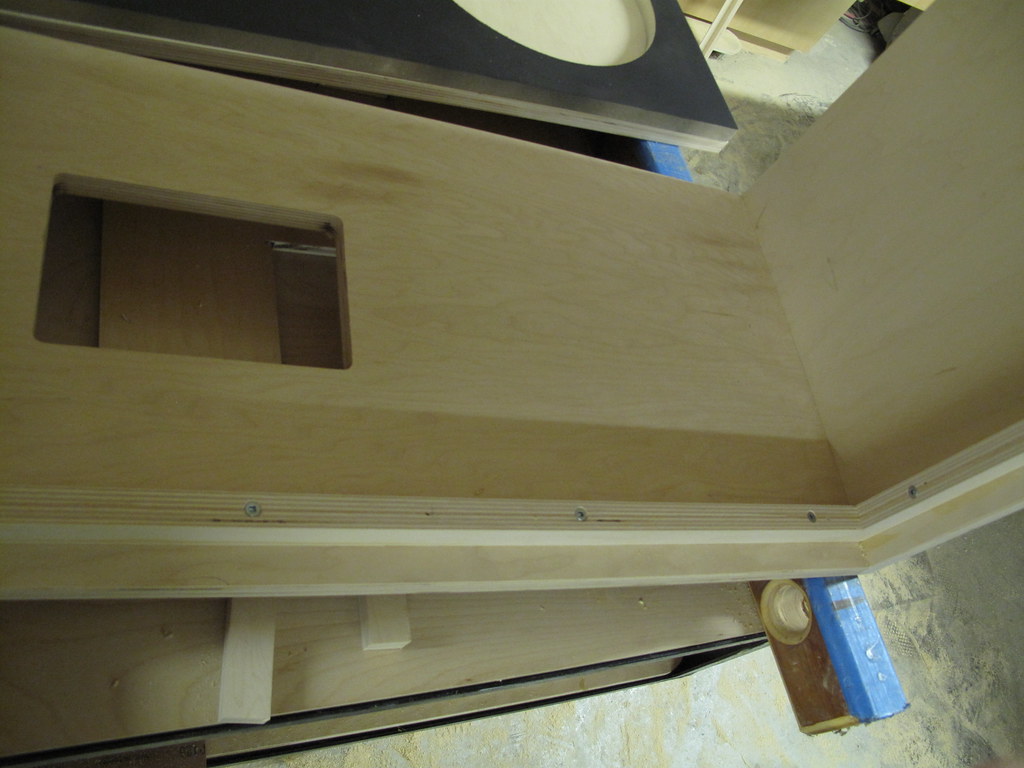
Speaking of back panels, here's our first attempt at routing out the plug plate for the back panel. We fucked this up by putting it right where the baffle attaches because we weren't thinking. Fortunately we had enough wood to cut another panel. The hole on the top of the template is for the handles.
Adding butt joint style supports for the back panel and baffle.
Then we pressed in the baffle, tightened it down and put in the sockets for the bolts that attach the speakers


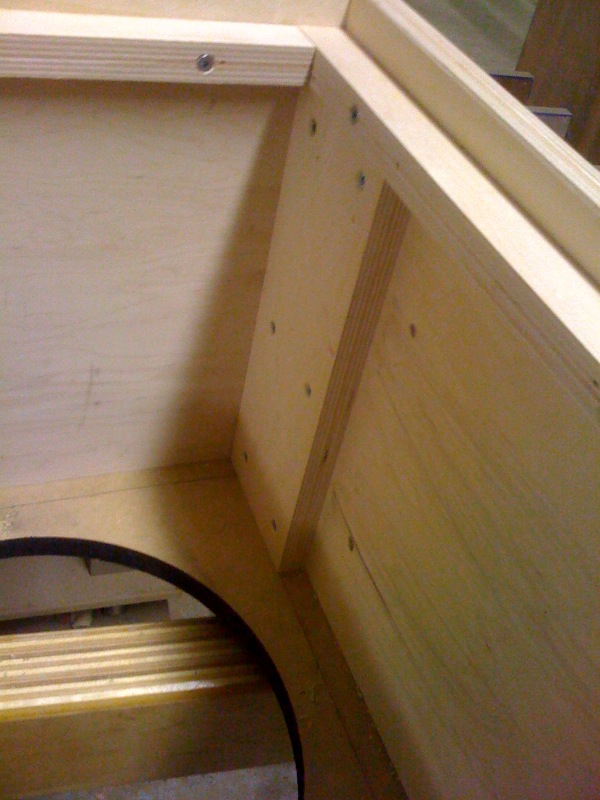
Here's how the internal bracing works
All together now!
 <
<Finishing touches before putting on the tolex. Puttying up the screw holes so you can't feel them.
img src="http://farm4.static.flickr.com/3554/3306068231_204ea18092_o.jpg" width=600/>
Sadly, because applying tolex is such a shitty, messy, sticky, pain in the ass of a process and I was in the zone, I totally forgot to take pictures. Anyways, here's the final product. I couldn't be more stoked with how this thing has held up for the last two or so years. Although we didn't make a name badge for it, I decided that our little one shot brand should be called NO.
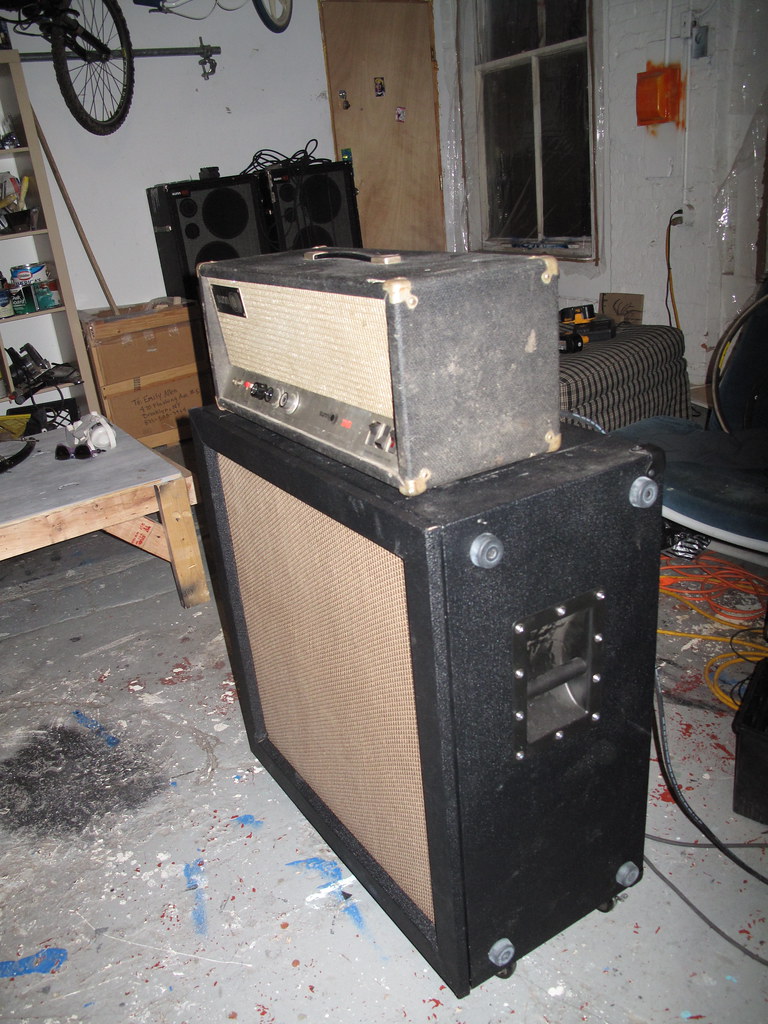

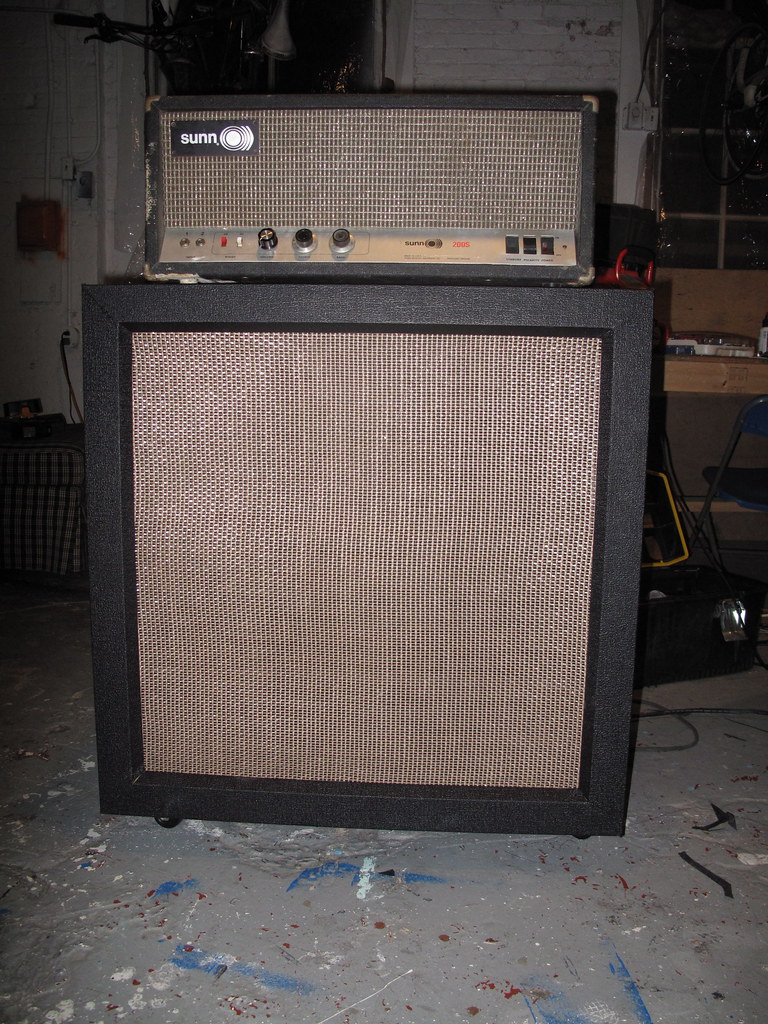

PS: Just for more fun DIY points, the Sunn amp you see in the photos is no longer mine, but i bought it broken, replaced some tube sockets, a few caps and a switch or two and it worked awesome.
No comments:
Post a Comment